


Contents
How to Backup WordPress with Duplicator Plugin
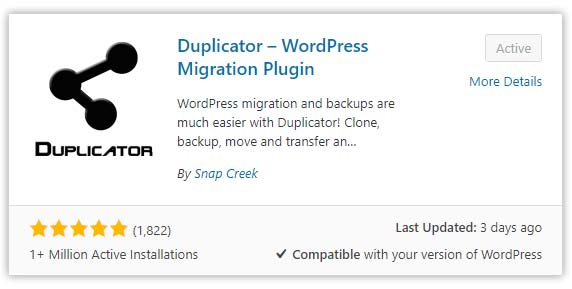
Backing up WordPress is neither easy nor difficult. There are several ways to backup all files and database on your WordPress website. Namely through manual methods, phpmyadmin, ftp and plugins. However, this time, we will discuss how to backup WordPress using the Duplicator plugin, which you can get for free. Duplicator works like a general plugin installed on WordPress. The function specified for WordPress backup and migration is certainly very reliable. Check out the full tutorial below:
1. How to Backup WordPress – All Site Files and Database
- Install the first duplicator plugin for your WordPress site
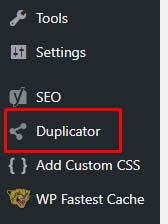
- In your WordPress dashboard, go to the Duplicator menu
- After that create a new backup > click on Create new button
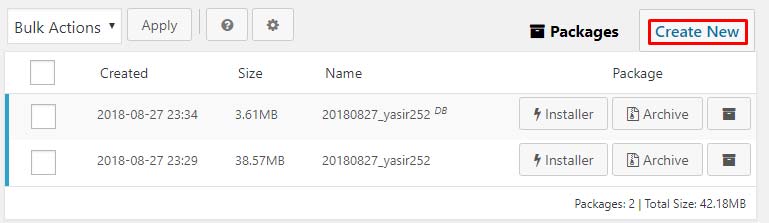
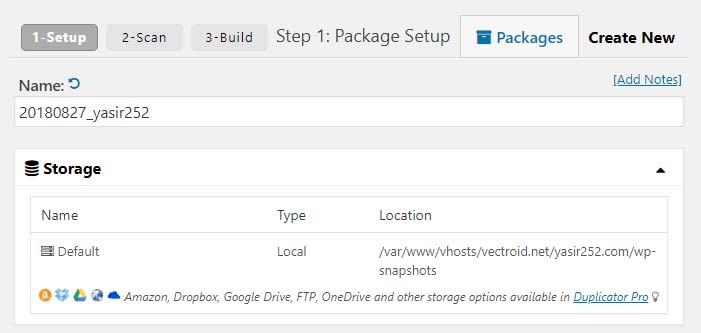
- Provide a name for the backup file to be created
- For storage, by default it will go to the wp-snapshoots root directory
- Then you can filter (select the data format you want to backup)
- I suggest pressing write [cache] AND [archive]
– [cache] So that cache files are not copied
– [archive] Prevent compressed files from being included in the backup (rar, zip, 7z, gz)

- The next step is the verification step, text scanning completed will appear
- You can check various possible and impossible statuses to backup
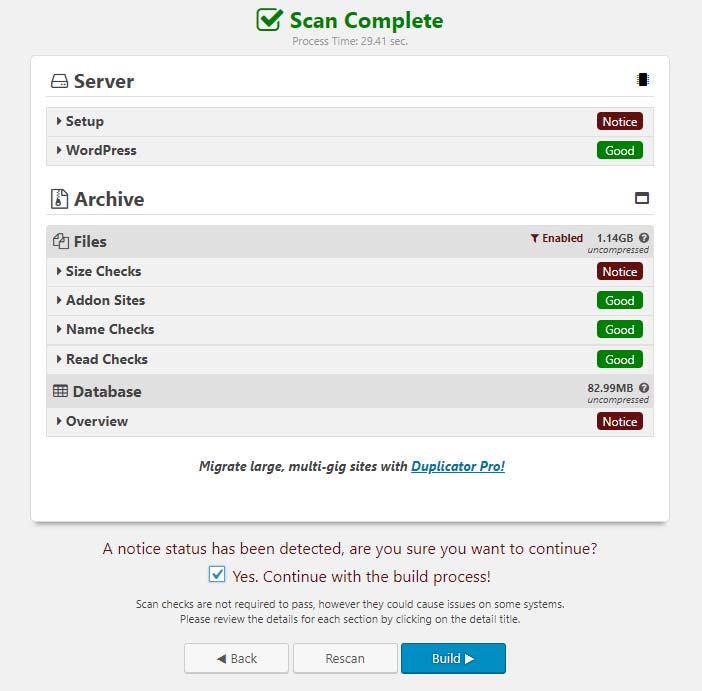
- Then press the Build button to start creating a backup
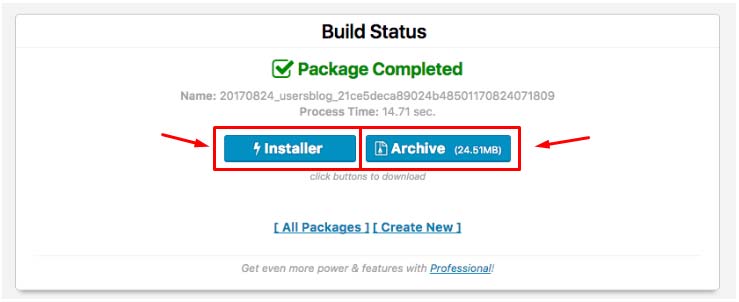
- If everything goes well, a notification will appear Package complete
NOTE: If problems occur, try using the backup database method only. Then back up the site files manually
How to Move a WordPress Site Using the Duplicator Plugin
Next, after performing the normal backup process, we will now move the backup file to the new hosting.
- Upload installer.php files and Archive (site files) that were downloaded to the root directory of the new hosting
- Now open the address, www.websitekalian.com/installer.php
- Create a new database and database user in CPanel/Plesk Onyx
- Database entry and user boxes
- Select host and keep it localhost
- Just go ahead and wait for the process to complete.
2. Just backup database, backup website files manually
This technique is used when you are unable to make a full backup, unable to run installer.php configuration, or have other server resource issues.
- In the admin panel, you open the duplicator and select Archive database only
- After the compilation is completed, you can also download it installer.php E file (contains database only)
- Then your task is to backup all website files manually

How to Manually Backup WordPress Site Files
- Open CPanel or Plesk Onyx and enter the File Manager menu
- Enter the WordPress site root directory
- Then select all the site files and click the Compress or Add to file button
- Give the file mysitebackup.zip a name
- Download the manual backup file
Você pode gostar:
- How to Backup MySQL Database Using PHPMyAdmin
- How to make a table in Word (complete tutorial)
- Jailbreak iPhone without PC (iOS 11) with Electra Apps
How to move WordPress website files to new hosting
- Upload mysitebackup.zip files to new hosting
- Then extract the file to the site’s root directory
- Also upload installer.php files and file (database)
- Run the duplicator installation normally
That’s it for our tutorial today on how to backup WordPress using the Duplicator plugin. If you have any bugs, issues, or major issues, please ask in the comments column. In the meantime, for those who need a tutorial on how to backup a WordPress database from PHPmyadmin, check here. If you have another better way to make a backup, you can let me know here. Good luck!